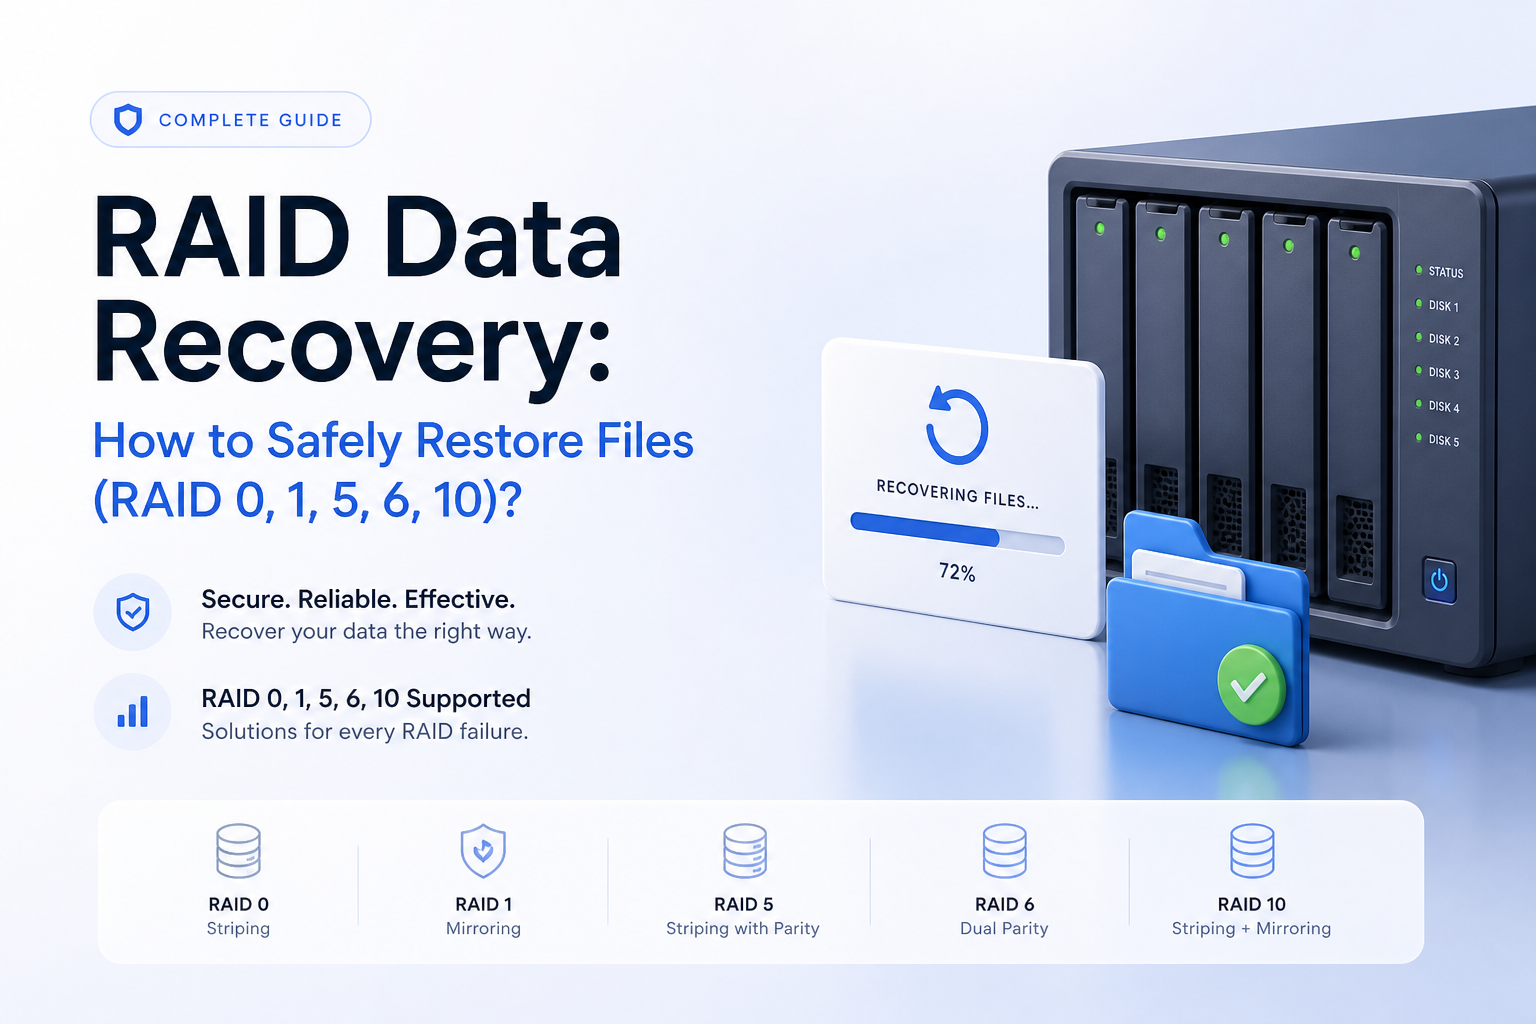
RAID Data Recovery: How to Safely Restore Files (RAID 0, 1, 5, 6, 10)?
A failed RAID is not one broken disk. The member order, parity state, controller history, plus what happened after the fault all shape the safest recovery path.
Stop the RAID, label every member by bay, then avoid all rebuild or repair commands. If the disks are readable, image them before connecting all available members for automatic reconstruction in Disk Drill. Use a lab instead if any disk clicks, drops offline, or reads painfully slowly.
Do not initialize, format, run CHKDSK, replace members at random, or start another rebuild. RAID 5 is especially vulnerable after a second disk problem. RAID 0 has no redundancy at all. Every write may reduce what remains recoverable.
Reconstruct a Readable RAID → Disk Drill
Automatic RAID detection plus virtual reconstruction · File preview before recovery · Windows plus macOS
Top 5 Methods to Recover Data from RAID 0, 1, 5, 6, or 10
01 Image the RAID Members, Then Scan with Disk Drill
Best first recovery path when every member disk is still readable
Several hours
Image the RAID Members, Then Scan with Disk Drill
Best first recovery path when every member disk is still readable
This approach keeps the original disks out of the risky part of recovery. Disk Drill can automatically detect many software RAID layouts when every available member is connected separately, including common Linux, Windows, macOS, Storage Spaces, plus Synology SHR configurations. (cleverfiles.com)
- Power off the array. Mark each disk with its bay number, such as 01, 02, 03, before removing anything.
- Check each member for clicking, repeated spin-up, severe slowdown, or disappearing connections. Stop if a disk shows physical trouble.
- Create a full sector-by-sector image or clone of every readable member. Store each image or clone on healthy media with at least the same capacity.
- Connect all available clones or original members to one Windows or Mac computer. Keep their original order recorded, even though Disk Drill uses RAID metadata for automatic detection.
- Install Disk Drill on a separate system disk. Open the RAIDs section, select the reconstructed virtual volume, then run Search for lost data.
- Preview several important files from different folders. Recover selected data to a separate healthy disk, never to a RAID member.

02 Restore the RAID from a Backup or Snapshot
Safest choice when a verified copy exists outside the failed array
30 min–1 day
Restore the RAID from a Backup or Snapshot
Safest choice when a verified copy exists outside the failed array
A backup restore avoids uncertain reconstruction altogether. Check cloud backups, NAS snapshots, external disks, server replicas, plus application-level copies before scanning damaged media.
- Leave the failed RAID powered off until the backup has been checked.
- Choose a backup dated before the deletion, corruption, ransomware event, or failed rebuild.
- Restore a small test folder to a separate disk. Open several files rather than trusting filenames alone.
- Build or repair the destination array only after the test files prove usable.
- Restore the remaining data to the healthy destination. Keep the old RAID members untouched until the result is verified.
03 Copy Files from a Healthy RAID Mirror
Quick route for degraded RAID 1 or certain RAID 10 failures
1–8 hours
Copy Files from a Healthy RAID Mirror
Quick route for degraded RAID 1 or certain RAID 10 failures
RAID 1 stores matching copies, so one healthy member may contain a mountable file system. RAID 10 is less simple because data is striped across mirror pairs, though a complete surviving side may sometimes remain accessible.
- Shut the system down. Label every drive by bay position before removal.
- Identify the suspected healthy mirror member from controller logs, SMART history, plus the array map. Do not guess if more than one disk has failed.
- Attach the chosen disk to another machine through a stable SATA connection. Block writes or mount it read-only where possible.
- If the volume opens normally, copy the most valuable folders first to an unrelated healthy disk.
- If the disk appears RAW, asks to initialize, or shows the wrong capacity, cancel the prompt. Image it before attempting recovery software.
04 Reassemble the Software RAID in Read-Only Mode
Useful when metadata is intact but the operating system stopped assembling the array
1–4 hours
Reassemble the Software RAID in Read-Only Mode
Useful when metadata is intact but the operating system stopped assembling the array
A software array can disappear after an operating-system failure, cable problem, or stale member state even though its data remains present. Read-only assembly may expose the original file system without changing member metadata.
- Photograph the cabling plus bay layout. Save controller logs or
mdadmdetail output if the system still starts. - Image every questionable disk before changing array state.
- Confirm the RAID level, member count, expected disk order, chunk size, metadata version, plus failed-member history.
- Assemble the array read-only using the native RAID manager. Do not create a new array, force a resync, or accept an automatic repair.
- Mount the resulting volume read-only. Copy critical data to independent storage, starting with files that cannot be replaced.
- Stop if assembly requires uncertain parameters. One wrong disk order can make striped data look like random corruption.
05 Send the RAID to a Data Recovery Lab
Right move for physical damage, missing members, or a failed rebuild
2–10 days
Send the RAID to a Data Recovery Lab
Right move for physical damage, missing members, or a failed rebuild
Professional recovery costs more, though it avoids repeated stress on unstable disks. Use a lab if a member clicks, will not spin, vanishes during reads, has fire or water damage, or if a rebuild failed after another disk dropped out.
- Turn off the enclosure immediately. Do not keep restarting it to see whether the array returns.
- Label every disk with its bay number. Include spare members that participated in a recent rebuild.
- Write down the RAID level, controller or NAS model, disk order, approximate failure sequence, encryption details, plus any rebuild attempts.
- Ask the lab whether diagnostics are non-destructive, whether work begins only after approval, plus how recovered data will be returned.
- Pack each disk in an anti-static bag with firm padding. Ship the enclosure too if the controller stores essential configuration.
- Keep credentials available but separate from the shipment. Preserve any backups until the lab confirms the result.
When DIY RAID Recovery Is Too Risky
Stop before software recovery if a disk clicks, scrapes, repeatedly spins down, reports a wildly wrong capacity, or disappears during a sequential read. The same applies after a RAID 5 rebuild fails or a RAID 6 loses more members than its parity can cover.
Encryption is another dividing line. If the array uses BitLocker, LUKS, FileVault, or NAS volume encryption, preserve the keys plus configuration records before changing hardware.
How the RAID Level Changes the Recovery Plan
RAID 0 needs every member because each file is split across disks. RAID 1 may leave a complete copy on one healthy mirror. RAID 5 can survive one missing member, while RAID 6 can normally tolerate two. RAID 10 depends on which disks failed, not merely how many.
Those tolerances describe a healthy array. Bad sectors, stale mirrors, failed rebuilds, corrupted metadata, plus controller-specific layouts can remove the expected safety margin.
Choose the Safest RAID Data Recovery Method
The percentages are rough scenario estimates, not promises. Disk condition matters more than the RAID label.
| Method | Best for | Time | Success rate |
|---|---|---|---|
| 1. Image the RAID Members, Then Scan with Disk Drill TRY FIRST | Readable members, lost volume, deleted files | Several hours | ● 82% |
| 2. Restore the RAID from a Backup or Snapshot | Verified off-array copy | 30 min–1 day | ● 98% |
| 3. Copy Files from a Healthy RAID Mirror | Degraded RAID 1, some RAID 10 failures | 1–8 hours | ● 90% |
| 4. Reassemble the Software RAID in Read-Only Mode | Intact metadata, failed software assembly | 1–4 hours | ● 72% |
| 5. Send the RAID to a Data Recovery Lab | Physical faults, failed rebuilds, missing members | 2–10 days | ● 68% |
Which RAID Recovery Method Should You Use?
Image the members, then scan the reconstructed array with Disk Drill when every required disk is readable plus the loss is logical. Restore a verified backup first if one exists. A healthy RAID 1 mirror may be copied directly, while physical damage, failed rebuilds, missing disks, or uncertain geometry belong with a recovery lab.
Write each bay number on its disk before disconnecting anything, then keep all recovered files on storage outside the original RAID.